Week 3.
First solidworks sketching!
Part 1: lines
Part 2: circle
Part 3: drawing a part + checking the mass
Part 4: Editing dimensions
Part 5: Edit thickness
Part 6: Another part+ select materials
Part 7: And another part.
Part 8: Circular part
And lastly, uploading to my one drive.
Part 1: lines
 |
| Warming up with drawing a horizontal line from origin using "line" tool, adding dimensions using "Smart Dimension". |
Part 2: circle
 |
| Using the circle tool to create circle FROM ORIGIN. |
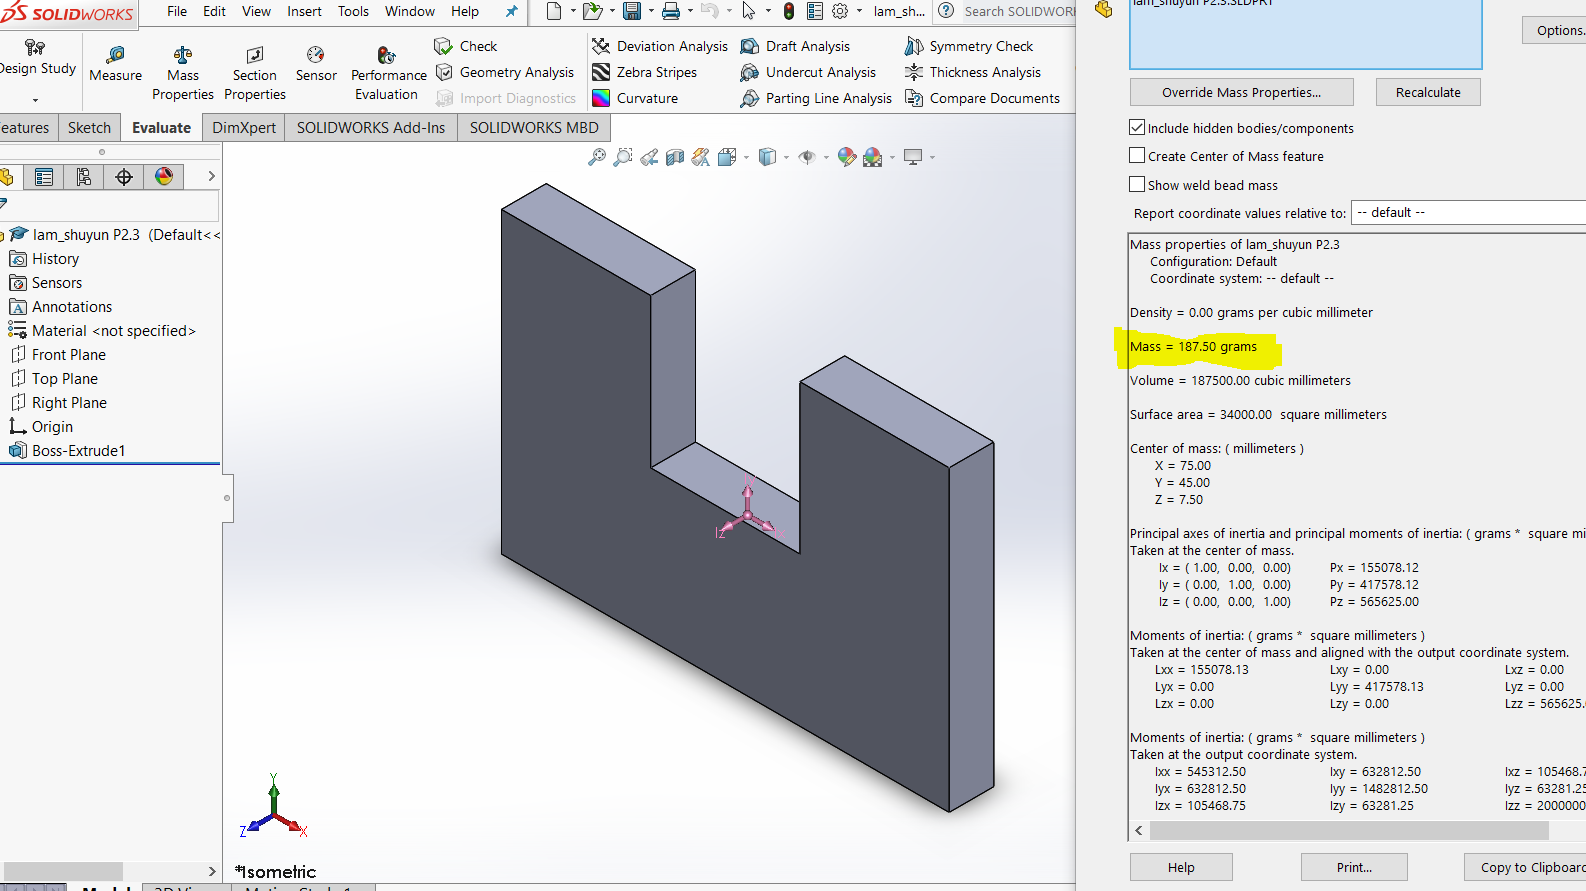 |
| Sketching the part using "Line", adding dimensions and then extrude the part to give thickness. Determining the mass. |
 |
| Go back into "Sketch" mode and change the dimensions. |
Part 5: Edit thickness
 |
| Enter "Edit Feature" to change the thickness. |
Part 6: Another part+ select materials
 |
Same way, new part. Adding dimensions for circles and angles are tricky and frustrating until I figured out how to do it/ asked for help. Selecting materials from hundreds of materials in the list after done extruding the part.
|
Part 7: And another part.
 |
| Much quicker process since I've figured out how to add dimensions and using tools (relations/ space bar/ zooming/ rotating/ editing). "REMEMBER TO START FROM ORIGIN" heard this from lecturers and tutorial videos repeatedly until its stuck in my head when sketching... |
Part 8: Circular part
 |
| Using circle tool, smart dimensions, construction lines, circular sketch pattern, extrude, and edit material to complete this part. |
 |
Organized.
|
Learnt some super basic skills, excited to learn more!Struggled a lot when dimensioning the circles and angles, clicking on everything until I found the way and then forgetting it few minutes later. Next time.... I'll just ask for help. |


Comments
Post a Comment