Mid sem intensive: Lego man's torso
The lego man project: creating an assembly of Lego man according to real dimensions of a lego mini figure. I borrowed a policeman lego from Ren and bought a 20$ mechanical Vernier caliper from Super Cheap Auto.

The first challenge was to measure the parts: reading the caliper and measuring the parts are tough when the lego man is soooooo small. I noted down the measurements in a simple elevation sketch.

I started building the lego man's torso according to Andrew's method: sketching one quarter and then mirroring the part twice.

1: extruding a block from the front plane
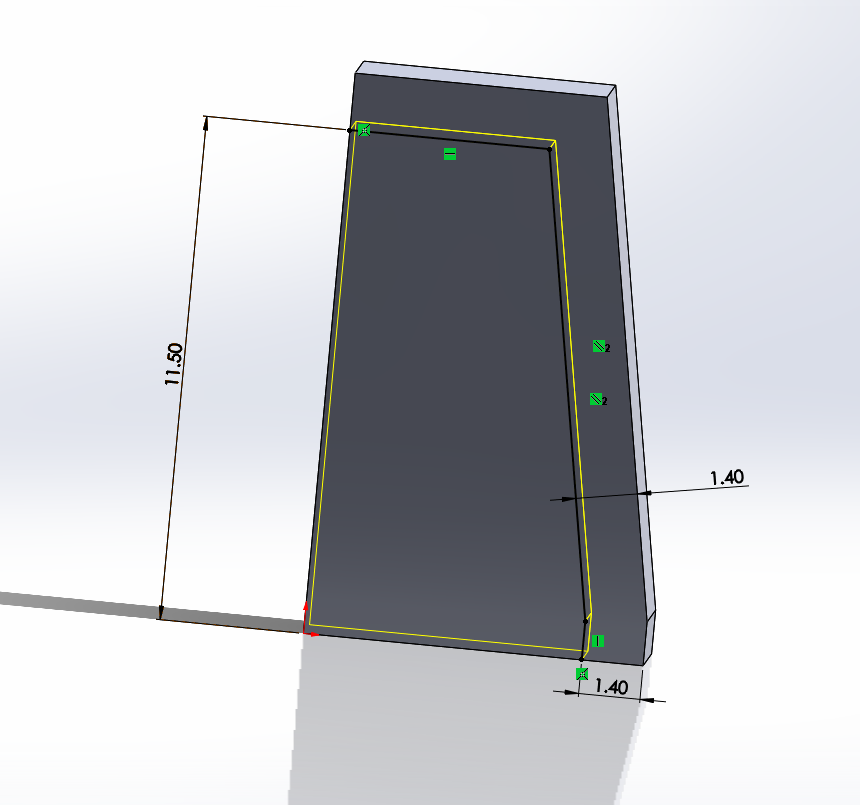
2: At this part I realized I missed out a small face at the bottom right corner at first step so I redo everything again to fix that. Then extrude cut to form a the outer wall.

3: Extruding a rectangle at the inside. I put the measurements wrongly at first and realized that when I did step 4 and just couldn't get the 2 parts fit in. Corrected the dimensions later.

4: Extruding a Z shape. I couldn't measure the exact dimensions of this part of the lego man because it is just too small so I just estimating the dimensions and hopefully it will fit the waist later.

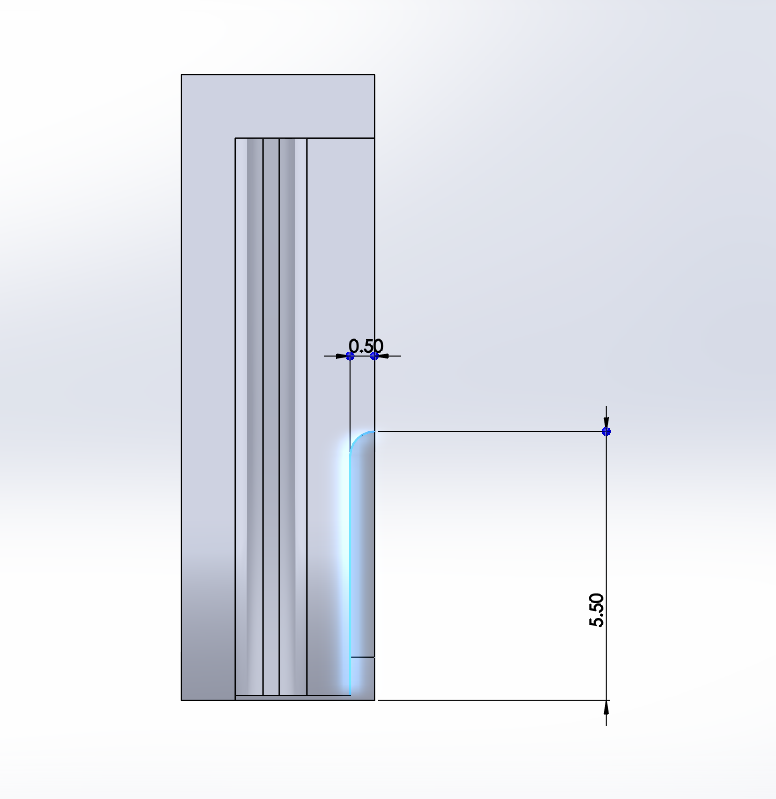
6: Sketching a slot and extrude cut on the curved shape.
 7: Mirror the part about the front plane. When I choose all features to mirror it doesn't work but when I choose at "Bodies to mirror" it worked.

 9: Mirror the body about the side face.
 10: Adding fillets to the sides (vertical edges first then the top face)

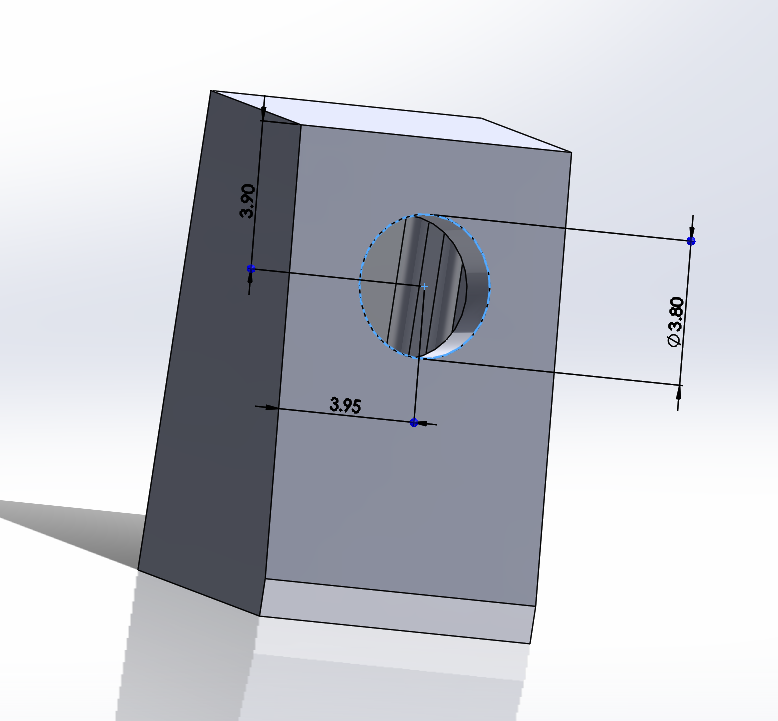
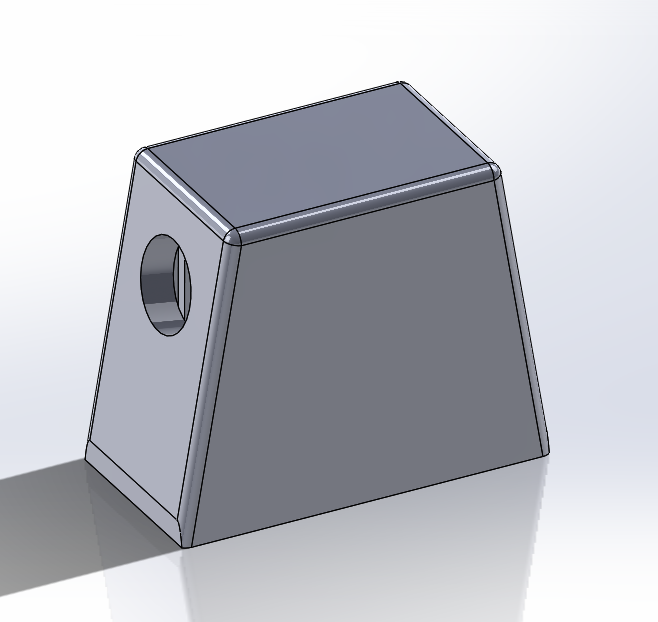
8: Extrude cut a hole at the side.


11: Adding chamfer to the hole. Estimating the distance of chamfer because I couldn't measure it on the lego man.

Done!


Comments
Post a Comment