Week 6
Part 1
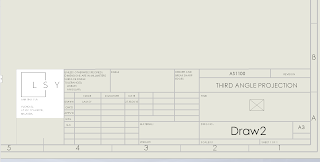 Creating drawing template: adding Logo, AS1100, third angle projection into the tittle block.
Ps. Later I realised when I view this template in PDF file my logo becomes super blur. After changing the pdf settings (changing high quality lines from 96 to 300) when saving the file fixed this.
Part 2
 I created this component by using 2 extruded part, first a rectangle with a hole on the right plane and then a 凹 shape at the top plane. I used this method because I thought this would be the most efficient and I will only have 2 features.
 Using this way my projections looked different than the ones in the brief.
 So, i place my right plane at the bottom left corner and drag out the other views just so that my drawing would look the same as the brief.
Part 3
 I created this part by extruding the shape on the front plane, and then extrude cut 2 rectangles from the 2 top faces.
 Same process of adding texts, showing hidden lines, editing the tittle block....
Part 4
 Started from a cylinder at front plane, cutting out a rectangle and a hole from the top plane, and then a triangle from the side plane. Lastly cutting out 2 rectangles(which is mirrored) into the cylinder.
Couldn't understand and drew this part without Katie. Help much appreciated.
 drawing~
Part 5
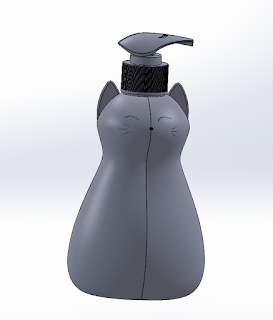
 Revolving the shape and then extrude cut to create a hole in the middle.
 Creating section view, and adding center lines.
Summary: Definitely improved a lot since week 2, I am able to sketch faster and more efficiently now. the 4th model is very tricky for me, I'd stared at it for 5 minutes and still couldn't figure out how to create the part. After finish creating the whole thing and rotating around the object, I finally understood the projections in the brief. More practice needed to get the hang of it.

Ps. Later I realised when I view this template in PDF file my logo becomes super blur. After changing the pdf settings (changing high quality lines from 96 to 300) when saving the file fixed this.
Part 2


Part 3


Part 4

Couldn't understand and drew this part without Katie. Help much appreciated.

Part 5


Summary: Definitely improved a lot since week 2, I am able to sketch faster and more efficiently now. the 4th model is very tricky for me, I'd stared at it for 5 minutes and still couldn't figure out how to create the part. After finish creating the whole thing and rotating around the object, I finally understood the projections in the brief. More practice needed to get the hang of it.


Comments
Post a Comment